I just wanted to make a little post about one of my recent purchases, the M.I.S.T.I (Most Incredible Stamp Tool Invented). Now I do not have much experience in stamping, but it does indeed seem like an incredible stamp tool!
I am still making christmas cards, and I took a few photos when I was doing the layout of one, while using the MISTI.
Picture 1.
This is the layout I want. Nothing is glued down. The paper is aligned with the corner, and held down with the help of two magnets so it wont move. (Though don't pull up the lid to fast with the stamp attached to it as it can get a tad stuck on the paper and pull the paper with it).
Make sure the stamp is perfectly clean so you wont smudge the paper while searching for the right position.
Picture 2.I have put down the stamp where I want it according to the other embellishments, and with the grid checked that it is perfectly aligned and straight.
Picture 3.
I remove all the embellishments so that I don't squeeze them when stamping, and I press down to attach the stamp to the MISTI lid, removing the merry die cut after so I don't move the stamp.
Picture 4.
I have brought the stamp up, inked it, and stamped the sentiment.
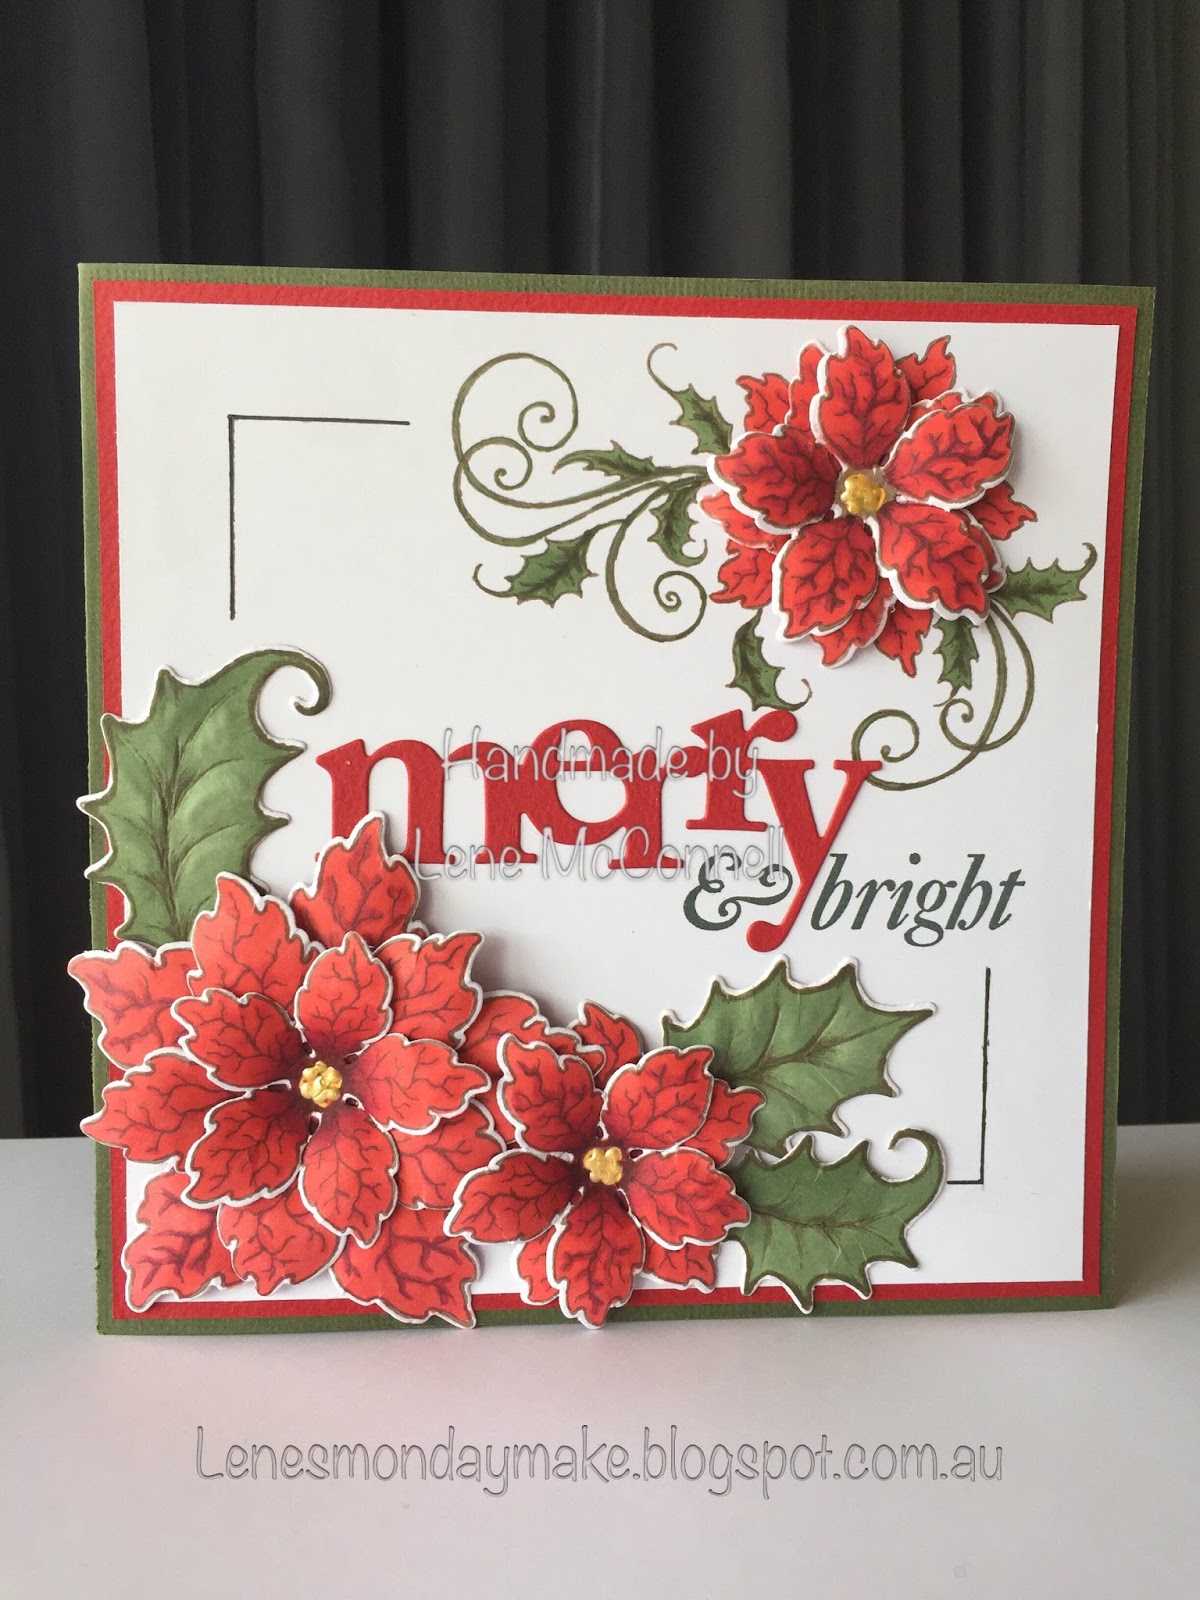
Picture 5.
And this is how it looks. Nothing is still not glued down, but my next post will show the final card and details of what I have used :)
1st great thing about this tool is that it is so easy to plan the layout making sure everything is at the right place before stamping, and that the stamp is aligned and straight.
2nd great thing about it is that if ever your stamp didn't ink properly, you can reink it and put it down at the exact same spot. Try that without this tool!
3rd good thing is that if you make several of the same card, you can place a new paper and stamp it the same way at the same spot every time! Great for invitations, thank you cards etc.
It saves you time, and frustration of not getting it right, and it saves supplies as it just comes out perfect and no need to toss ruined paper :)
It is an investment, but I feel it was money well spent!